
Dahua DSS requires an SSL certificate to enable secure HTTPS access. This guide explains the Dahua DSS SSL Setup, including how to generate a free SSL certificate using Let’s Encrypt, verify the domain via DNS (Nameserver method), and convert the SSL files into a format compatible with DSS.
In this Post take www.dsskenya.pro or dsskenya.pro as out sample domain
Install Certbot from https://certbot.eff.org and select Windows & IIS.
Open Command Prompt as Administrator and run:
certbot certonly --manual --preferred-challenges dns --key-type rsa -d dsskenya.pro -d www.dsskenya.proThe --key-type rsa ensures the generated private key is RSA-based, which is required by DSS.
Certbot will prompt you to create a DNS TXT record for verification. It will look something like this:
Please create a TXT record with the following details:
Name: _acme-challenge.dsskenya.pro
Type: TXT
Value: "PaLA0Uz0NMeVOfFssfdsAF96CZcQdpcIeMhO4Z7B2s0"
Log in to your DNS provider (e.g., Hostinger) and add a new TXT record:
Host/Name: _acme-challenge.dsskenya.pro
Type: TXT
Value: "PaLA0Uz0NMeVOfFssfdsAF96CZcQdpcIeMhO4Z7B2s0"
TTL: Auto or 300 (5 minutes)
Wait for DNS propagation (5–30 min) and verify using:
nslookup -type=TXT _acme-challenge.dsskenya.proor check https://www.whatsmydns.net
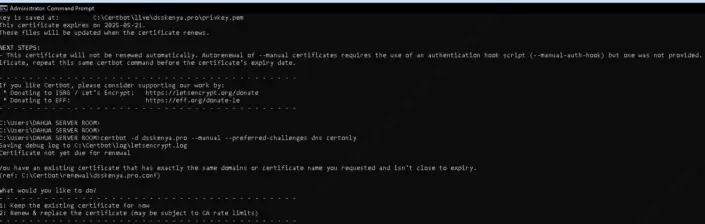
Once the TXT record is globally available, press Enter in Certbot to complete verification.
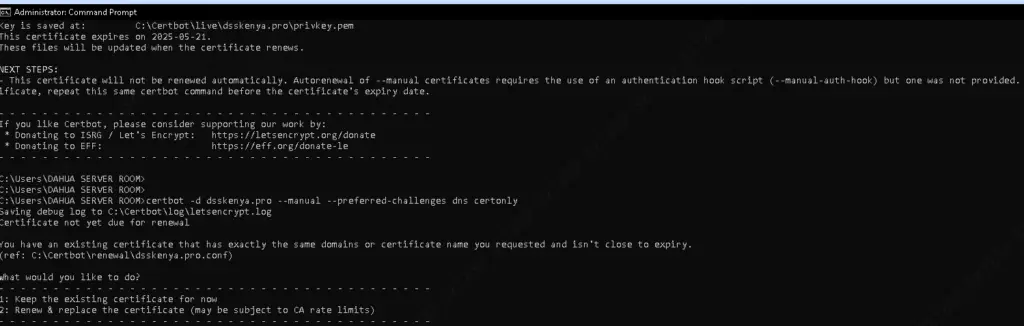
After successful verification, Certbot generates the following files in: 📂 C:\Certbot\live\dsskenya.pro\
| File | Purpose |
|---|---|
privkey.pem | Private Key (must be RSA) |
cert.pem | Domain Certificate |
chain.pem | Intermediate Certificate |
fullchain.pem | Full Chain Certificate |
Run the following command to combine cert.pem and chain.pem into ca_certificate.crt:
copy cert.pem + chain.pem ca_certificate.crtDahua DSS requires a password-protected RSA key, so convert privkey.pem into private.key:
openssl rsa -in privkey.pem -out private.key -passout pass:YourPassword🔹 Replace YourPassword with the actual password you want to use in DSS.
Open DSS Web Interface.
Navigate to System Settings > Network > HTTPS Settings.
Upload the following files:
CA Certificate: ca_certificate.crt
Private Key: private.key
Enter Password (set in Step 2).
Enable HTTPS & Restart DSS.
Open https://dsskenya.pro in a browser.
Check if DSS loads securely with SSL.
Ensure HTTPS is enforced and no SSL errors appear.
By following this guide, you have successfully installed a Let’s Encrypt SSL certificate for Dahua DSS, ensuring secure HTTPS access. Since Let’s Encrypt certificates expire every 90 days, set up auto-renewal or repeat this process periodically.
💡 Tip: Use a cron job or Windows Task Scheduler to automate SSL renewal.
🚀 Now DSS is secure with free SSL! Let us know if you need any help. 🎉